
A former Blue Peter gardener has suggested a novel way for the UK’s nature-loving youngsters to take part in Children’s Gardening Week (28th May – 5th June 2022) this year – whether they have a garden or not.
“Skip the allotment waiting lists and create your own tiny tray allotment,” says Chris Collins, who is Head of Horticulture at charity, Garden Organic.
Chris’s days tending to one of the nation’s most famous gardens on Blue Peter ignited his passion for inspiring people of all ages and abilities to enjoy the benefits of gardening, learning about growing and sustainability.
He says that Children’s Gardening Week is the perfect time to engage young people in the joys of organic and sustainable gardening. The week aims to celebrate the fun that gardening holds for kids and is a great way to bring families and all generations together.
Chris Collins’s mini allotment project (instructions below) is not only great for creating an eye-catching display and teaching children about growing in real-time, it also generates your own supply of edible crops – perfect for sandwiches and salads.
Chris continued; “Introducing new people to gardening and organic methods is one of the best parts of my job at Garden Organic.
“It’s a thrill to see kids’ eyes light up when they spot seedlings for the first time or when they enjoy a picnic made from the crops they’ve grown themselves.
“Understanding where food comes from and nature’s cycles is a critical part of education, and what better way to learn than by getting your hands dirty.
“I share the belief that organic growing is essential for a healthy and sustainable world. It’s never too late to get started, either, so I love the fact that Children’s Gardening Week encourages the whole family to get involved.”
How to create your miniature allotment
You will need;
- A large tray/container or a number of small ones – old supermarket vegetable containers are perfect.
- Peat-free compost
- Seeds of your choice! E.g.
- Cress
- Pea shoots
- Radish
- Purple sprouting broccoli
- Microgreens
- Rocket
- Spinach
- Labels for your seeds – ice lolly sticks work brilliantly
- Tamper and sieve (optional)
- Water sprayer (an old household spray bottle, well-rinsed, does the job)
- Items to decorate. E.g.
- Pebbles
- Pine cones
- Colour pens
See how much you can save or reuse from your household recycling for the most sustainable tiny tray allotment.
Method:
1. Fill your tray three quarters full with compost

2. Sprinkle your seeds onto the soil surface
3. Sieve some compost, cover your seeds lightly and carefully firm down (with a tamper if you like)

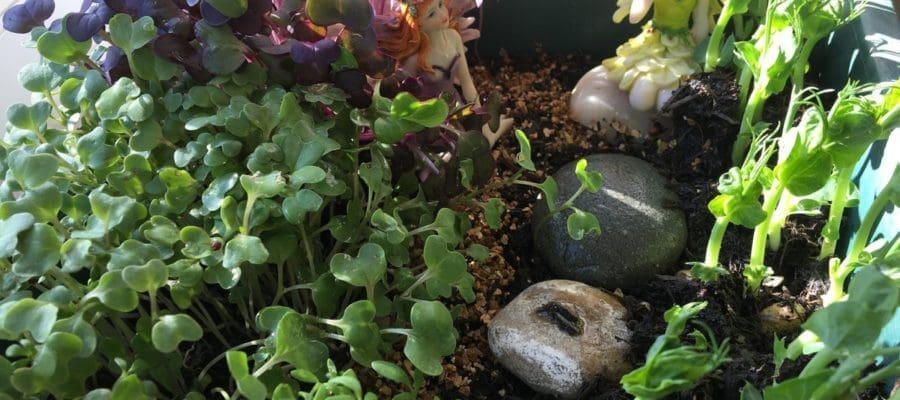
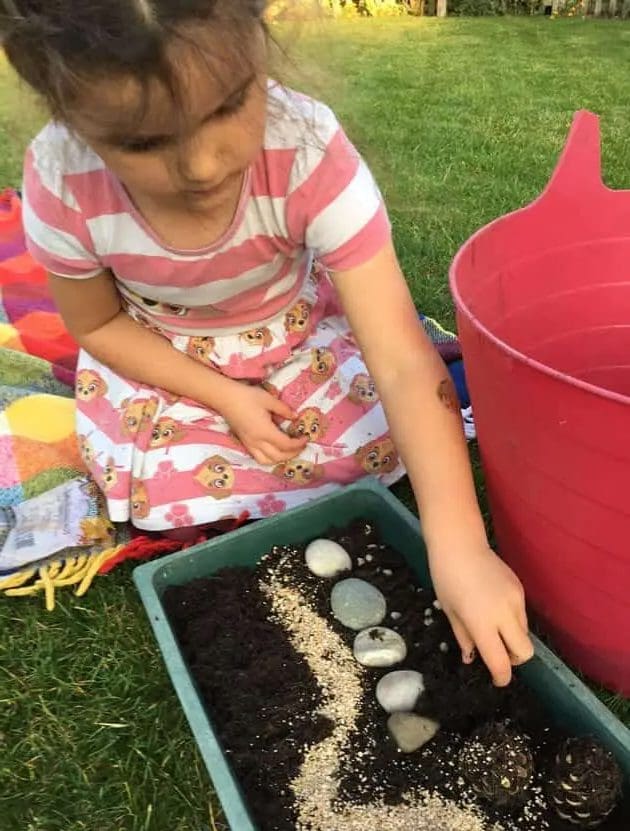
4. Add some texture into your allotment, e.g., with pine cones and pebbles. You could also create a mini gravel ‘pathway’. This is your chance to get creative and make it your own

5. Another option is to cover one section of your tray allotment with a thick layer of dried peas for delicious pea shoots. Cover this with a 1cm layer of compost and carefully firm down

6. Label the mini allotment areas with crop names and sowing dates

7. Use your water sprayer to give everything a good soak. (I don’t recommend a watering can as this can drown everything). If your tray has holes in the bottom just make sure you sit it on a watertight tray before watering!

8. The most important step – have fun! Decorate your mini allotment with bright pens; add your own creative touch with eye-catching pebbles, shells or even fairies! Why not try crafting a mini scarecrow!?
Tips for looking after your tiny-tray allotment
- Keep the tray on a bright windowsill
- Spray your seedlings daily with a water sprayer. You’re aiming for damp, not soaked
- Re-sow as required
- With some good looking after, you should be able to keep your mini allotment going from spring through to the autumn
Tips for harvesting your mini crops
You’ll know when they’re ready as your whole tray will be a carpet of greenery and leaves
- Use scissors to gently crop seedlings or leaves
- Some seeds e.g., spinach and dried peas will regrow after two or three cuts before you need to sow again
Chris added; “Once you’ve created your unique mini allotment, you can enjoy watching your greens grow and tasting your home-grown produce. I’m looking forward to hearing how people get on with their mini allotments. It’s amazing what you can grow on your windowsill at home.
“For keen learners there is a lot more information, plus tips and recipes on the Garden Organic website. We’d love to see your creations, so definitely tag us in at @gardenorganicUK.”
Further information on growing organically can be found by visiting the Garden Organic website at www.gardenorganic.org.uk
| Garden Organic Join Garden Organic. By becoming a member you can join the thousands of people in the UK and overseas who are already leading the movement for an organic and sustainable future for us all. www.gardenorganic.org.uk |